Copyright © 2023 Firestarter Creative, LLC | 214-549-8605 | info@firestartercreative.com

WORK
About
Contact
buy stuff
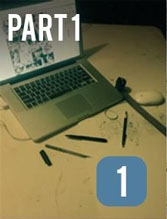
The Michael Jordan Tribute Project - February 2014
This is a work that Lawrence has been wanting to do for while celebrating a childhood hero of his and so many others. We're happy to say that through all the steps it took, it came out EXACTLY like he wanted to in the first try! From there, he went on to create three more pieces in this technique. You know how we like to do things in campaigns. For that, we want to go ahead and show you how Lawrence got it done. Let's Go!
The process
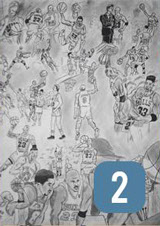
 Step 1: Lawrence scoured the net looking for pictures of moments through MJ's career. Once he found a good number pics and decided to use about 21 images, he then proceeded to lay them out in Photoshop
to make a decent collage background. We're not fans of just collaging photographs for a project, so he decided it would mean more if he would just draw each picture on the board in a sketch format and have it bleed through the red as a textured effect. Having had the layers on Photoshop, he was able to zoom in and out to get better looks at the details of the pictures.
 Step 2: After drawing a layout that he was satisfied with, Lawrence then went back over the darker details such as body outlines and black shapes with a BLACK fine point illustration pen. This is done because
the lead from the pencil can easily get lost in the next steps.
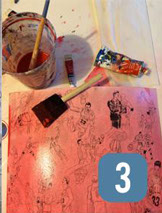 Step 3: Here, we go to overlaying a wash. RED WATERCOLOR is subtable for this process but feel free to add a small amount of RED ACRYLIC to your wash. As you can see, for smoother layering, Lawrence used a sponge brush.
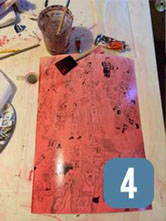 Step 4: Continuing Step 3, Lawrence added about 3 layers before letting it dry. In total, he finished with about 6 or 7 passes of the red wash. If you're using a thick illustrator board such as this, you'll notice the board bending or bowing. To fix this, wait until the board is dry to touch, but still sort of damp, then place a thick book on top right in the middle of the board to let it flatten out.
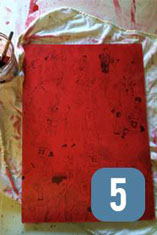 Step 5: Now that the red background is complete, look over the underlying images because when adding the wash, some lead can wash off. Feel free to go back over and darken some black and shaded spots with the black pen and a dark lead pencil. Use a smearing technique on the lead for shadowing.
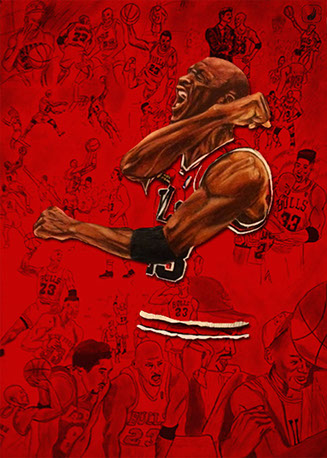
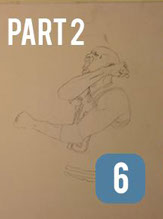 Step 6: Now, we begin to draw the center piece, Michael Jordan himself. After measuring out a subtable amount of space to take up on the previous board, he drew a found image of Jordan celebrating during
the finals. Use a light leaded pencil to reduce pencil marks.
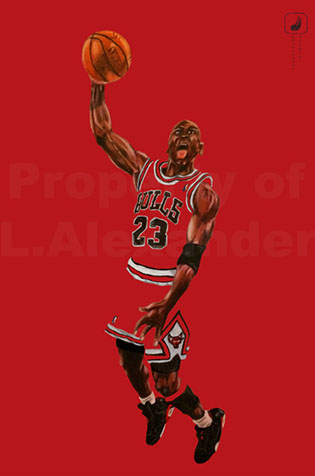
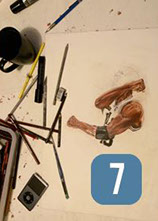 Step 7: Using Prismacolor pencils, Lawrence attempted to come as close as he could to his skin and muscle tone. A mixture of Burned Ochre and Tuscan Red was used for his base skin while Dark Umber and Goldenrod were used for definition and White for highlights. (Tip: for VERY DARK spots, Lawrence likes to use Indigo Blue over the Dark Umber for a more natural look) Good music is essential in a process such as this, hence
the iPod.
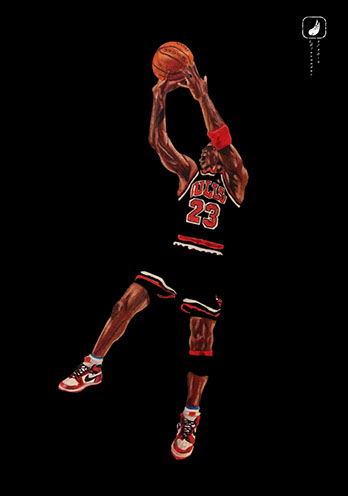
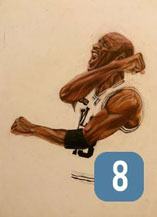 Step 8: Now that the pencils are done, to avoid confusion when cutting, go over the white space with an eraser and exact-o knife to even out
the edges.
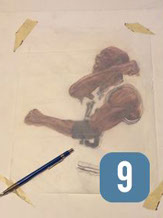 Step 9: Use tracing paper to outline the drawing in order to do a transfer on the red board because you will need to do a precise placement when placing the cut out pieces.
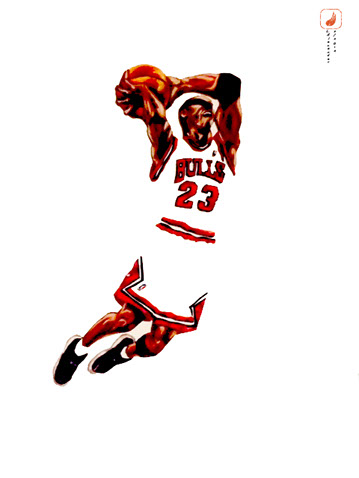
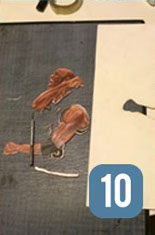 Step 10: On to the cutting board. Use a VERY sharp exact-o and cut out the drawn elements. Once cut out, shave off any shavings with the knife and out line the pieces with a RED marker to add a 3D like effect. Careful not to have color bleed onto color drawing on the top surface. Using SPRAY MOUNT (3M or Krylon), add adhesive to the back of each piece and line them up to the outline used from the tracing paper transfer. There will be residue from the glue on the edges, so quickly remove that with the knife or small damp towel after placing each piece.
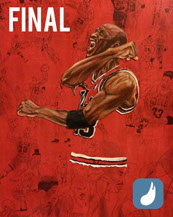 Final: And there you have it. A 14x20 drawing of Michael Jordan. Again, thanks for your support and letting us share this with you. Now BACK TO THE LAB!